Erasers for Drawing: How to Choose the Right Type and Fix Common Erasing Problems
A simple eraser toolkit, plus a 30-minute practise plan
Troubleshooting: common erasing problems and fast fixes
What to buy for your medium (graphite, charcoal, and family drawing), plus a simple “today plan”


Faber-Castell - Perfection Eraser Pencil
Regular price
$2.52 CAD
Sale price
$2.52 CAD
Regular price
Choose your option

Faber-Castell - Kneadable Eraser
Regular price
$1.76 CAD
Sale price
$1.76 CAD
Regular price
Choose your option

Staedtler-Mars - Erasing Shield
Regular price
$2.93 CAD
Sale price
$2.93 CAD
Regular price
Choose your option

Faber-Castell - GRIP 2001 TRIANGULAR ERASER - GREY
Regular price
$2.75 CAD
Sale price
$2.75 CAD
Regular price
Choose your option

Faber-Castell - Paper Wiper Blending Stump
Regular price
$4.10 CAD
Sale price
$4.10 CAD
Regular price
Choose your option

Staedtler-Mars - Eraser Holder
Regular price
$4.65 CAD
Sale price
$4.65 CAD
Regular price
Choose your option

Staedtler-Mars - Dusting brush - Mini
Regular price
$7.88 CAD
Sale price
$7.88 CAD
Regular price
Choose your option


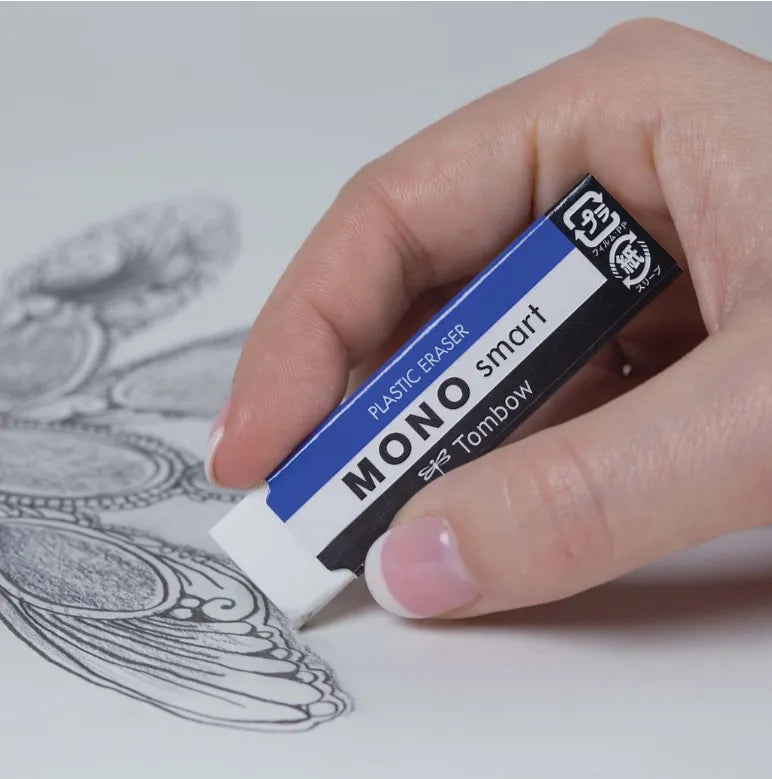
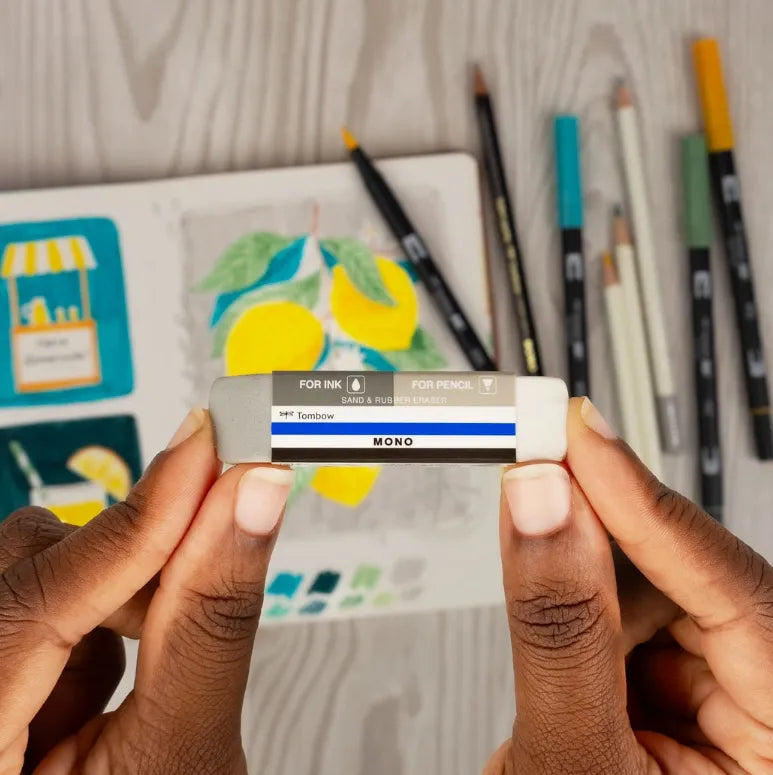
Tombow - MONO Zero Eraser
Regular price
$8.15 CAD
Sale price
$8.15 CAD
Regular price


