Tags:
Craft
Holiday Crafts
Kids Art
Air-Dry Clay Christmas Ornaments for Families
Beginner - Family - 5+ (with adult help for cutting and drying) -

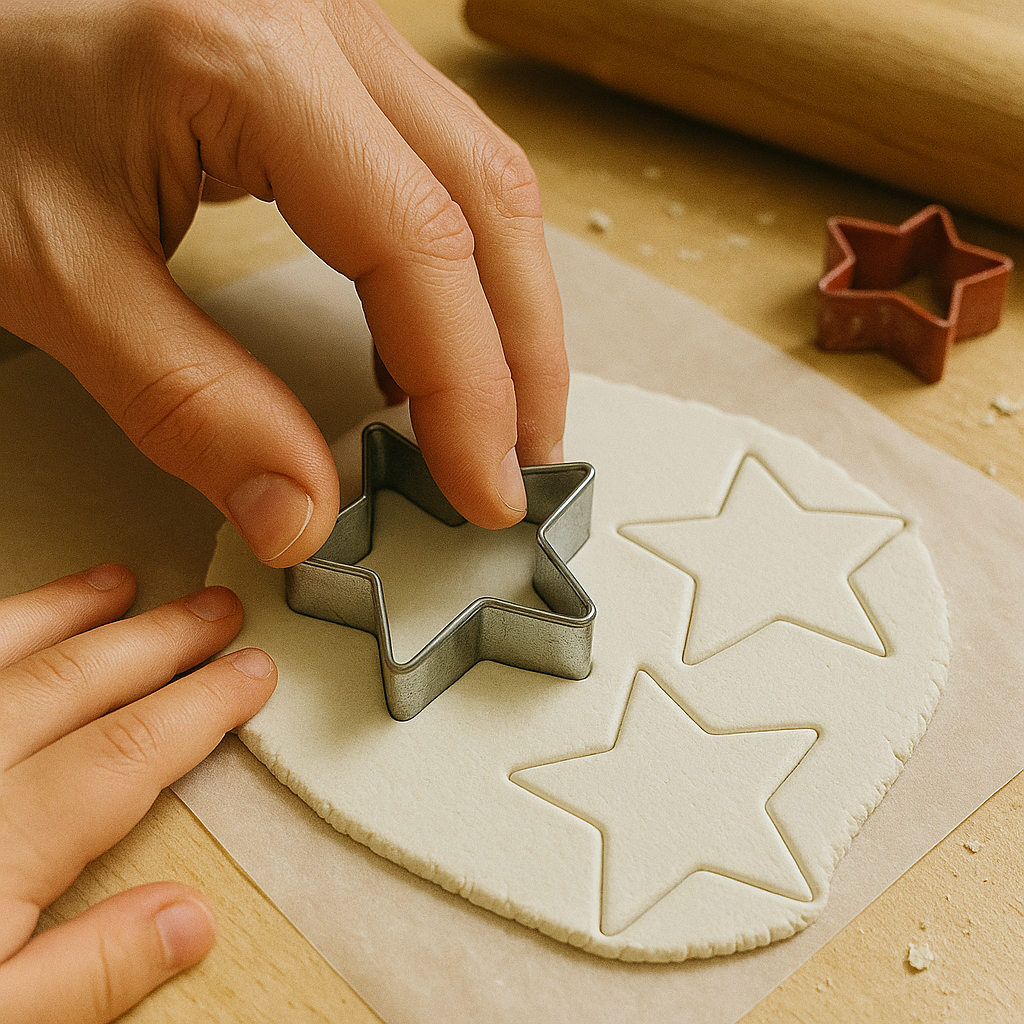
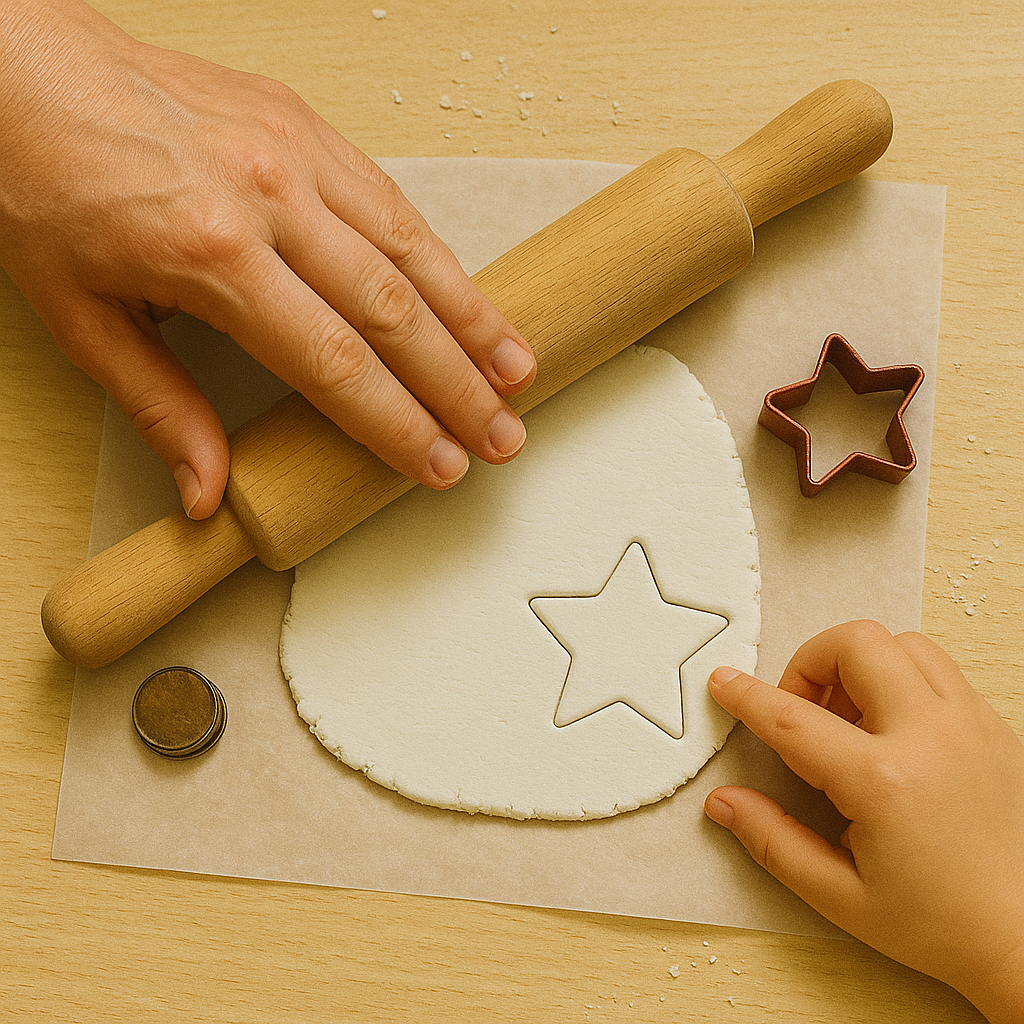
Getting Started with Air-Dry Clay Ornaments
What to expect
Space Required: Small table
Project Category: Christmas
Project Type:
Topics Covered:
Core Techniques:
Tools:
Safety Notes:
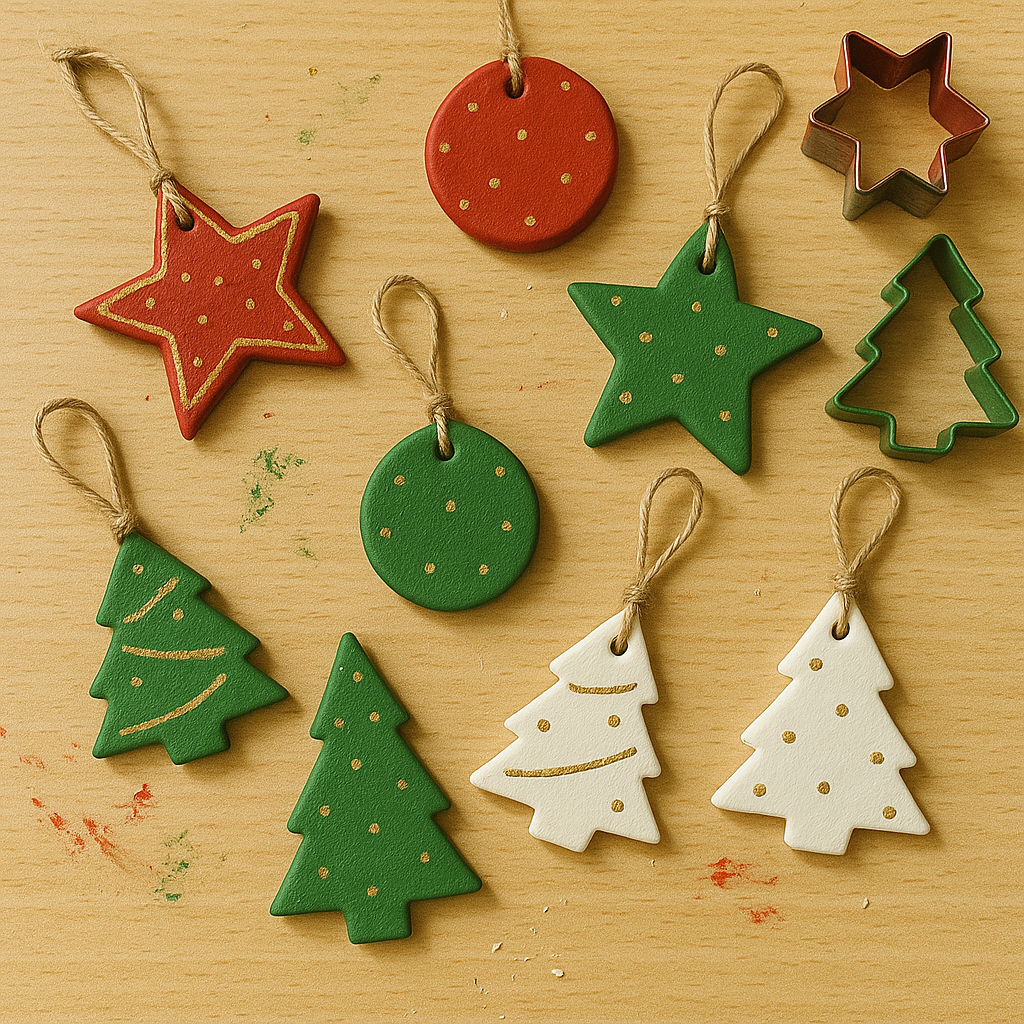
Shaping and Design Ideas for Holiday Magic