Skip to content

✌🏼 Free shipping on orders over $89!

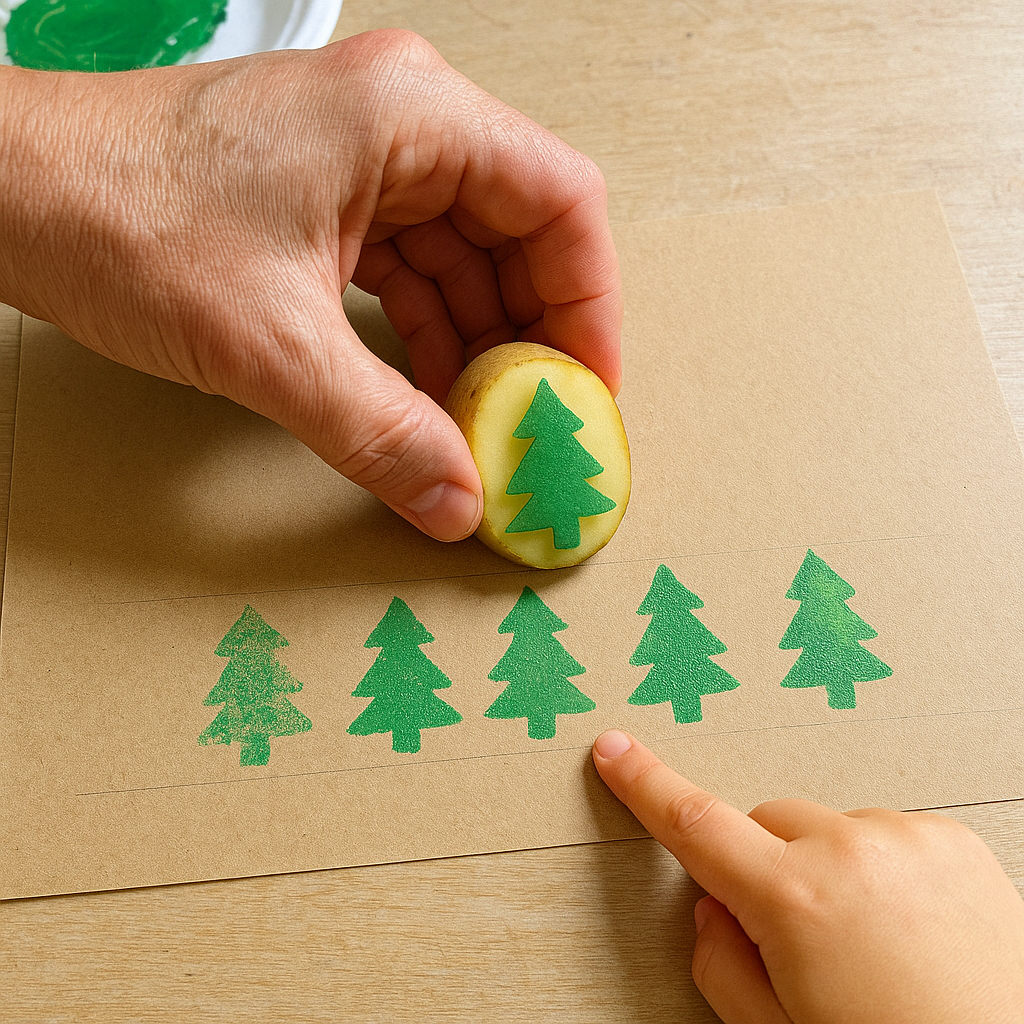
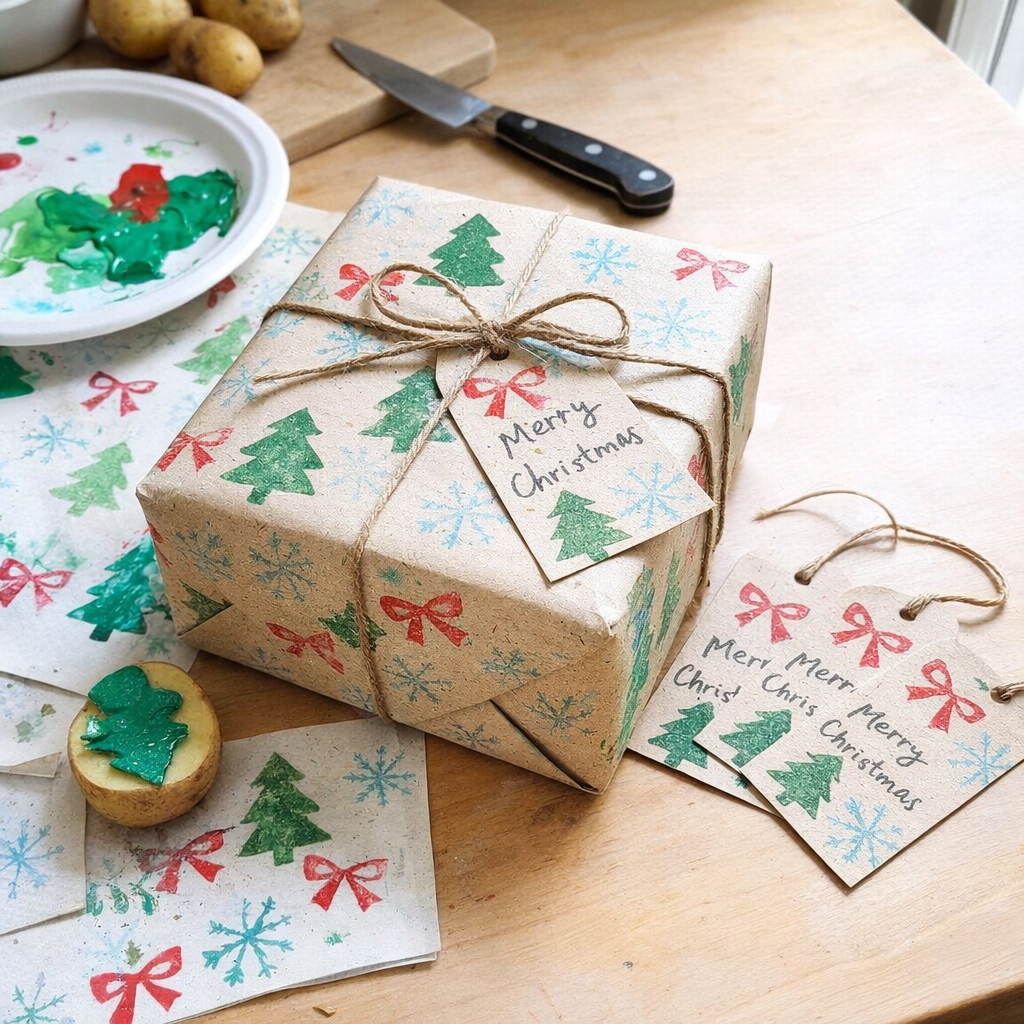
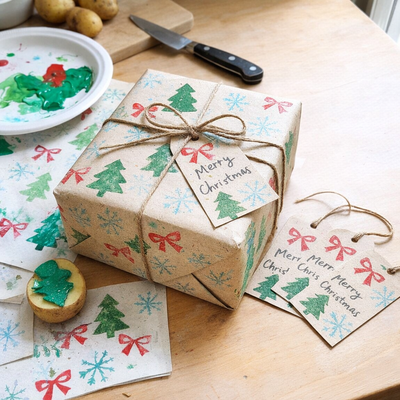
Potato Stamp Christmas Wrapping Paper and Tags

Turn humble potatoes into festive stamp makers for unique Christmas wrapping paper and gift tags. This simple printmaking technique uses basic kitchen supplies and acrylic paints to create personalized holiday decorations. Perfect for kids and families looking to add handmade touches to their gift giving.

Art Noise
Beginner - Family - 6+ (adult help for carving) -
Art Noise
Estimated Project Cost: Under $25 / Estimated Time: 75 minutes / Christmas

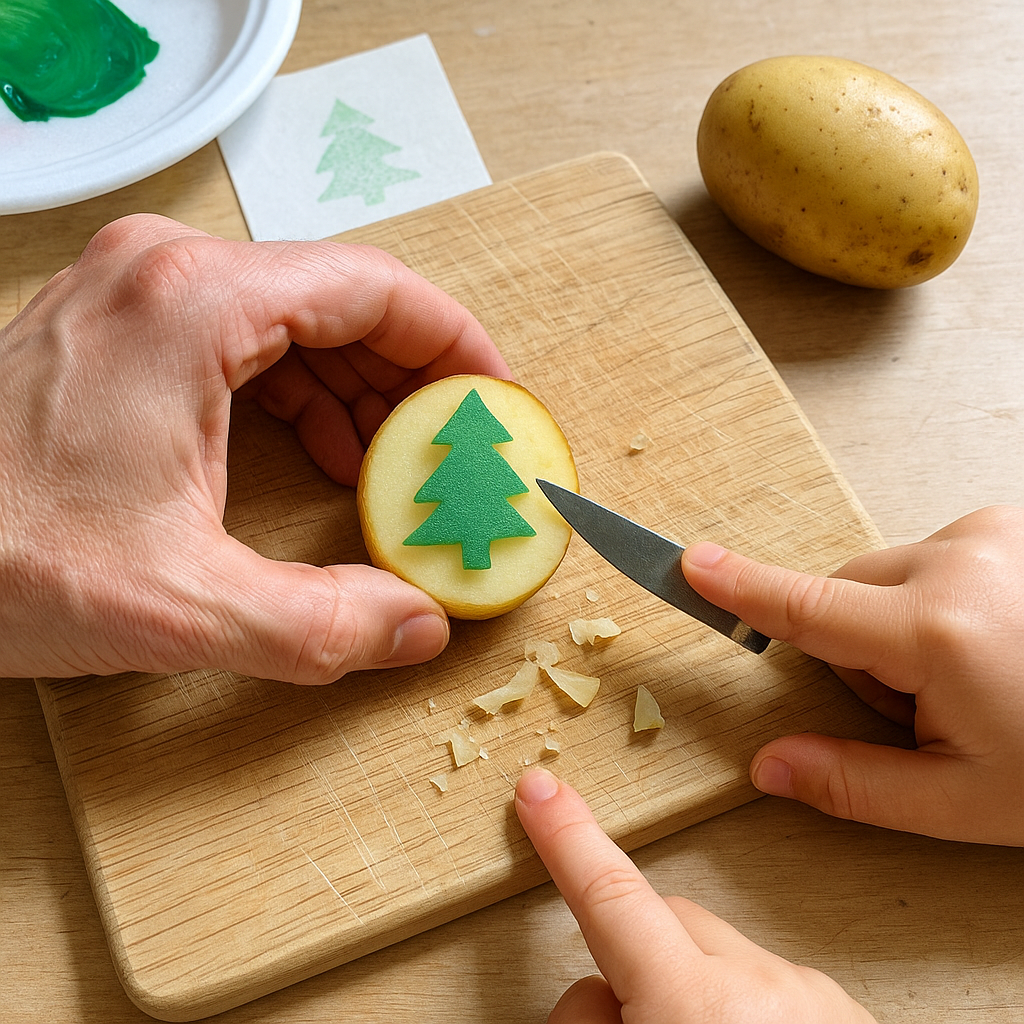
Creating Your Potato Stamps

Making potato stamps is simpler than you might think and requires just a few household items. Start by choosing firm, fresh potatoes that are large enough to hold comfortably. Cut them in half with a sharp knife, creating flat surfaces for your stamps. Use cookie cutters or carve simple shapes like stars, trees, bells, or snowflakes directly into the potato flesh. For younger crafters, stick to basic geometric shapes that are easy to carve and stamp cleanly. The key is keeping your designs bold and simple, as fine details often get lost in the printing process. Once your stamps are carved, pat them dry with paper towel to remove excess moisture, which can dilute your paint and create muddy impressions.

What to expect

Space Required: Medium table
Project Category:
Printmaking
Project Type:

  • Block Printing Projects

Topics Covered:

Creating potato stamps from fresh potatoes
Designing festive holiday patterns and shapes
Choosing the right paints and papers for stamping
Finishing techniques for professional looking results

Core Techniques:
potato stamping, basic pattern layout, brayer inking, test printing, batch gift tag making
Tools:
butter knife or paring knife, cutting board, pencil, ruler, foam plate or tray, brayer (optional), scissors, hole punch (optional)
Safety Notes:
Adult help recommended for carving stamps and using knives

Keep inks and paints away from mouths, wash hands before snacking

Cut on a stable cutting board, keep fingers behind the blade

Art Noise

Selecting Paints and Papers

The right materials make all the difference in achieving crisp, vibrant stamps that will make your wrapping paper stand out. <cite index="12-1,12-6">For paints, choose vibrant, quick drying colours that are water based and low odour</cite>, which makes them perfect for family crafting sessions. Acrylic paints work beautifully for stamping because they provide good coverage and dry relatively quickly. Avoid watercolours as they can be too thin for clear impressions. For paper, kraft paper or plain newsprint creates the perfect rustic base, while heavier decorative papers can handle multiple layers of stamping. You'll also want to gather some basic supplies: foam brushes or sponges for applying paint to your stamps, paper plates for paint palettes, and plenty of paper towel for cleanup between colours.

Art Noise

Finishing Your Holiday Creations

Once your stamped paper is completely dry, you can add special finishing touches that will make your handmade wrapping paper truly memorable. Consider adding metallic accents with gold or silver paint markers, or use fine tip brushes to add small details to your stamped shapes. For gift tags, cut around your stamped designs leaving a border, then punch holes for ribbon or string. <cite index="2-9,2-10">Quality wrapping paper that folds cleanly and looks great under the tree, with gift tags that help you personalize each package</cite> creates a cohesive, professional look. Store your finished wrapping paper flat or rolled loosely to prevent creasing, and keep extra gift tags in your gift wrapping supplies for last minute presents. The best part about potato stamping is that no two pieces will be exactly alike, giving each gift a unique, handcrafted character that shows the thought and care you put into every detail.