


Trusted By Artists for 10 years!
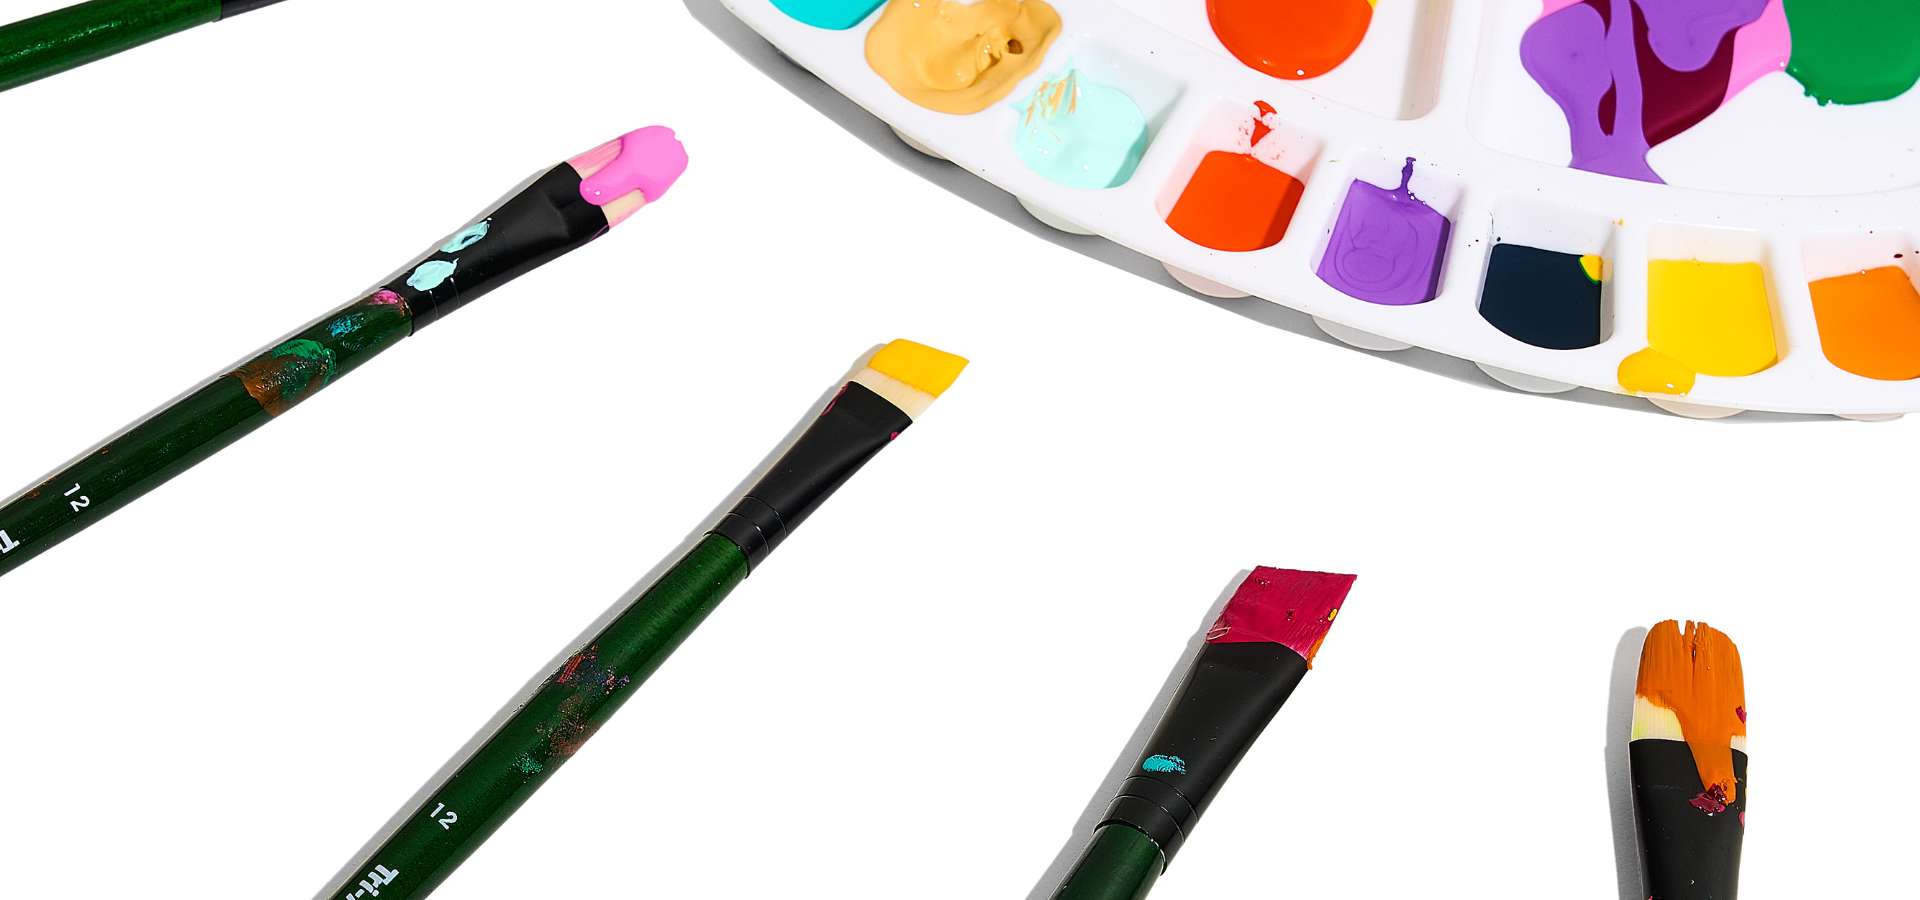
Art Noise is Kingston, Ontario’s independent creative hub for art supplies, DIY hardware, and hands-on learning. Build a studio that can do it all with artist acrylics, watercolours, lino and block printing supplies, markers, and drawing supplies, plus the brushes, paper, and surfaces that make your favourite mediums feel effortless.
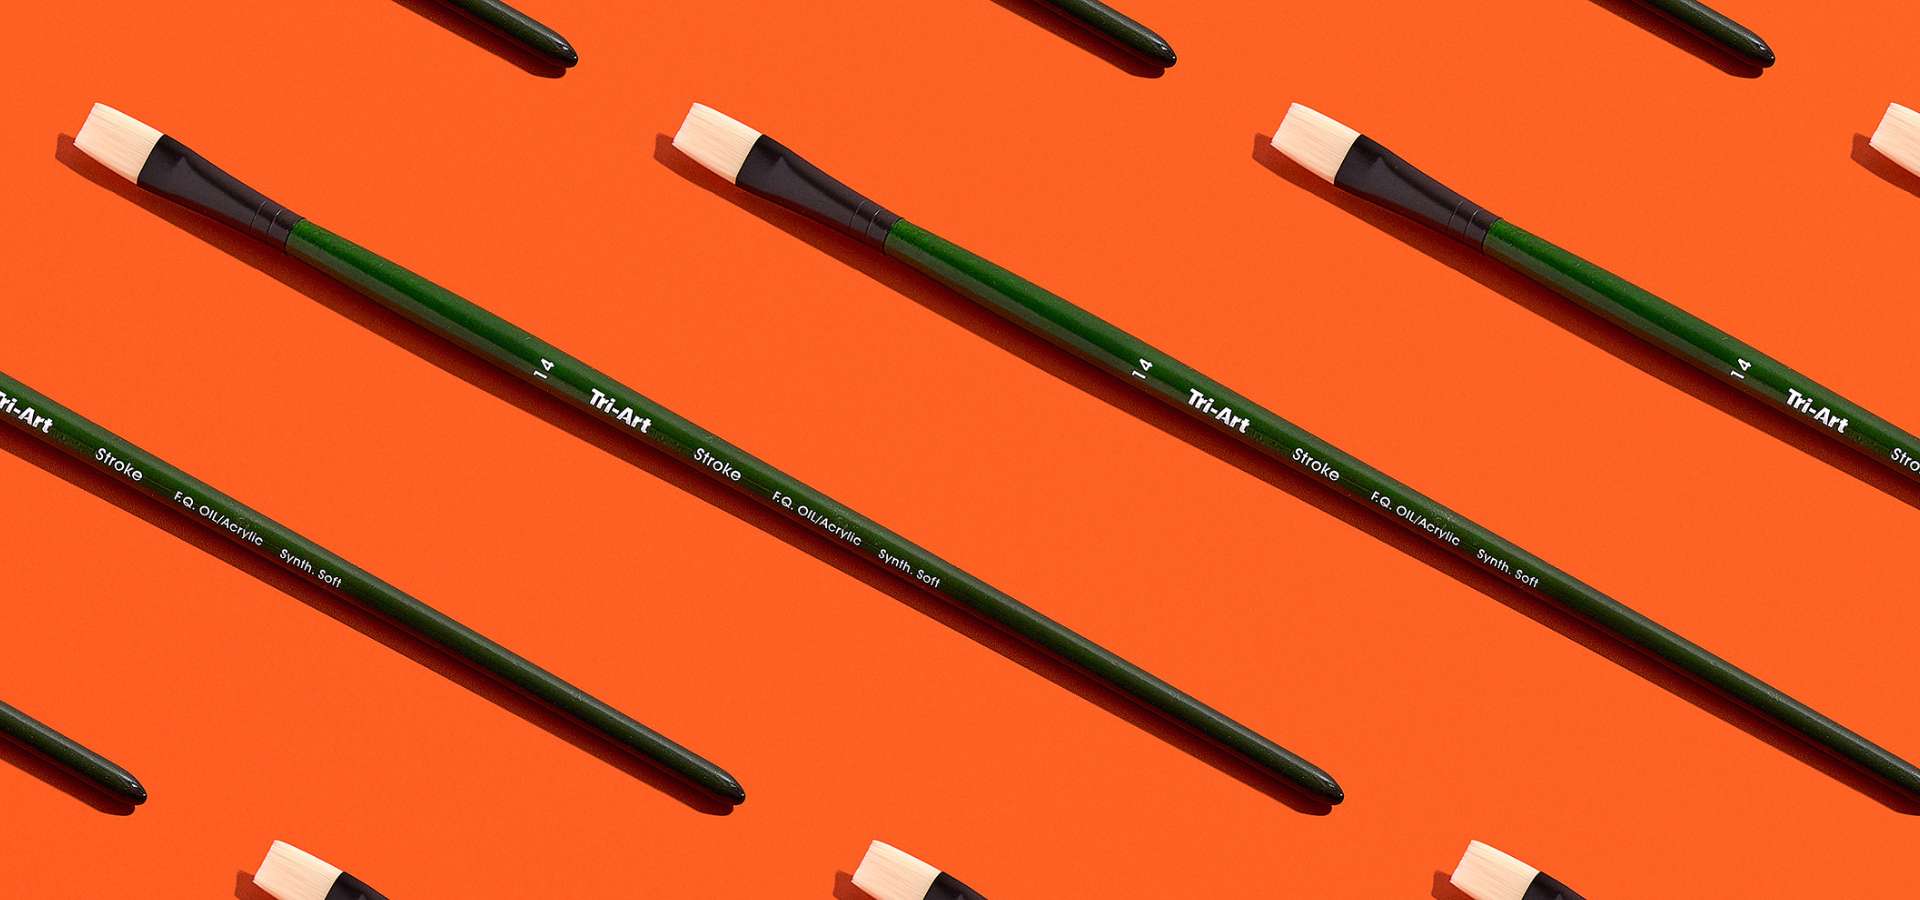
We have been in downtown Kingston for 10 years, and we are family-owned and operated as part of Tri-Art Mfg., a premium artist materials manufacturer founded in Kingston in 1994. Browse Canadian-made art supplies, including paints made locally, alongside trusted Canadian and international brands selected for real studio use.
Looking for something beyond the easel? Explore fountain pens and our broader fine writing selection for journaling and gifting, or unwind with puzzles and games for screen-free fun. Learn in our studio classroom, check what’s coming up on the events calendar, and read practical guides in our store blog.
Shop online for fast Canadian delivery, or visit us in person at 290 Princess St. in downtown Kingston for friendly advice, colour suggestions, and tools that match how you actually work, at the desk, in the studio, or on site.


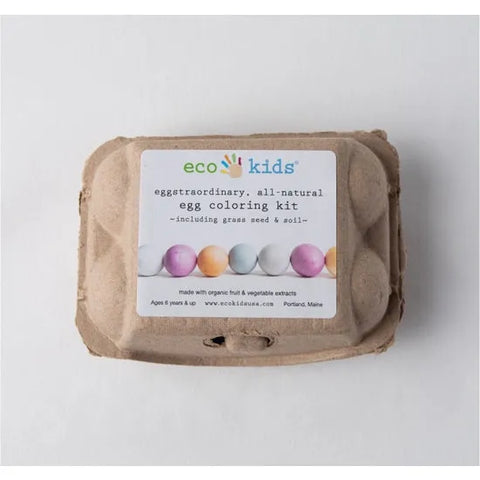
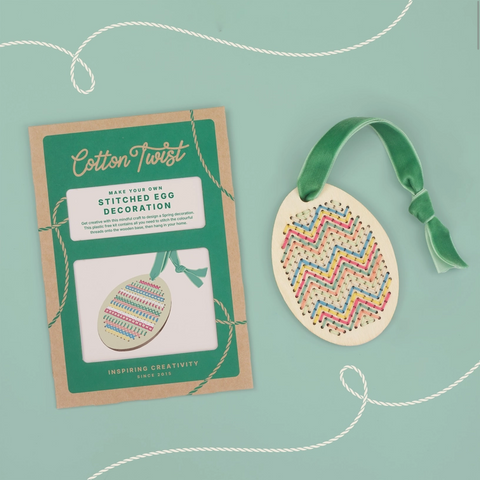
Easter & Spring Crafts
Pastels, baskets, and DIY décor.


Art Supplies Guides and Studio Tips

How to Choose a Fountain Pen Nib Size (Extra Fine to Stub), A 10-Minute Test
Choosing a fountain pen nib can feel confusing because paper, ink, and writing pressure all change the line. This guide gives you a quick 10-minute test to match nib size to how you actually write, plus practical fixes for scratchiness, feathering, and skipping.
Read more
Cartridge vs Converter: How to Choose a Fountain Pen Filling System and Set It Up Cleanly)
Not sure whether to use cartridges or a converter in your fountain pen? This practical guide walks you through compatibility, cost, and travel use, then shows a clean setup routine for either option. You will also get quick fixes for skips, hard starts, and messy fills.
Read more
How to Clean a Fountain Pen: A 10-Minute Routine, Plus Troubleshooting for Skipping and Hard Starts
Cleaning a fountain pen is simpler than most people think. This practical guide walks you through a quick rinse, a deeper flush when ink changes, and the most common fixes for skipping, hard starts, and dried-out feeds, using a few household basics today.
Read more
Acrylic Paints: The Definitive Guide Before you Buy
Acrylic paint shopping is easier when you start with how you paint. This guide compares professional, student, and classroom acrylics, shows what to check on labels, and gives a simple step plan to build a starter palette and avoid waste, using Tri-Art examples from Art Noise.
Read more
Cabinet and Chalk Paint


Fusion Mineral Paint Peony
Choose your option


Fusion Mineral Paint Picket Fence
Choose your option


Fusion Mineral Paint Lavender Haze
Choose your option


Fusion Mineral Paint Chestler
Choose your option


Fusion Mineral Paint Cashmere
Choose your option


Fusion Mineral Paint Cambridge
Choose your option


Fusion Mineral Paint Laurentian
Choose your option


Fusion Mineral Paint Inglenook
Choose your option


The Paint Factory - Grove
Choose your option


The Paint Factory - Midnight Forest
Choose your option


The Paint Factory - Slate
Choose your option


The Paint Factory - Black Stone
Choose your option


The Paint Factory - Peony
Choose your option


The Paint Factory - Rosewood
Choose your option


The Paint Factory - Rivulet
Choose your option


The Paint Factory - Harbour
Choose your option

Fusion Mineral Paint 4" Frames & Rollers MICROFIBRE
Choose your option
TOP WORKS - 4-1/4' - 8' (1.3 M - 2.4 M) EXTENSION POLE
Choose your option


Fusion Mineral Paint Continuous Spray Bottles Fusion
Choose your option

Fusion Mineral Paint 4" Roller refills Velour pack
Choose your option

Fusion Mineral Paint 4" Frames & Rollers Velour
Choose your option


Fusion Mineral Paint Paint Tray
Choose your option

Fusion Mineral Paint Paint Kit (incl. 2 Rollers,2 SandingPads,1"Brush,Tray)
Choose your option


